Ok, so I am totally addicted to my planner (as evidenced Here and Here)... in fact my planner has it's own Instagram account!

In January this past school year I switched my teacher planner to a daily layout, with inserts I'd made myself for an A5 Carpe Diem planner. It was perfect for my ever changing schedule. I had enough space without being overwhelmed, and I wasn't stuck in rows and sections!
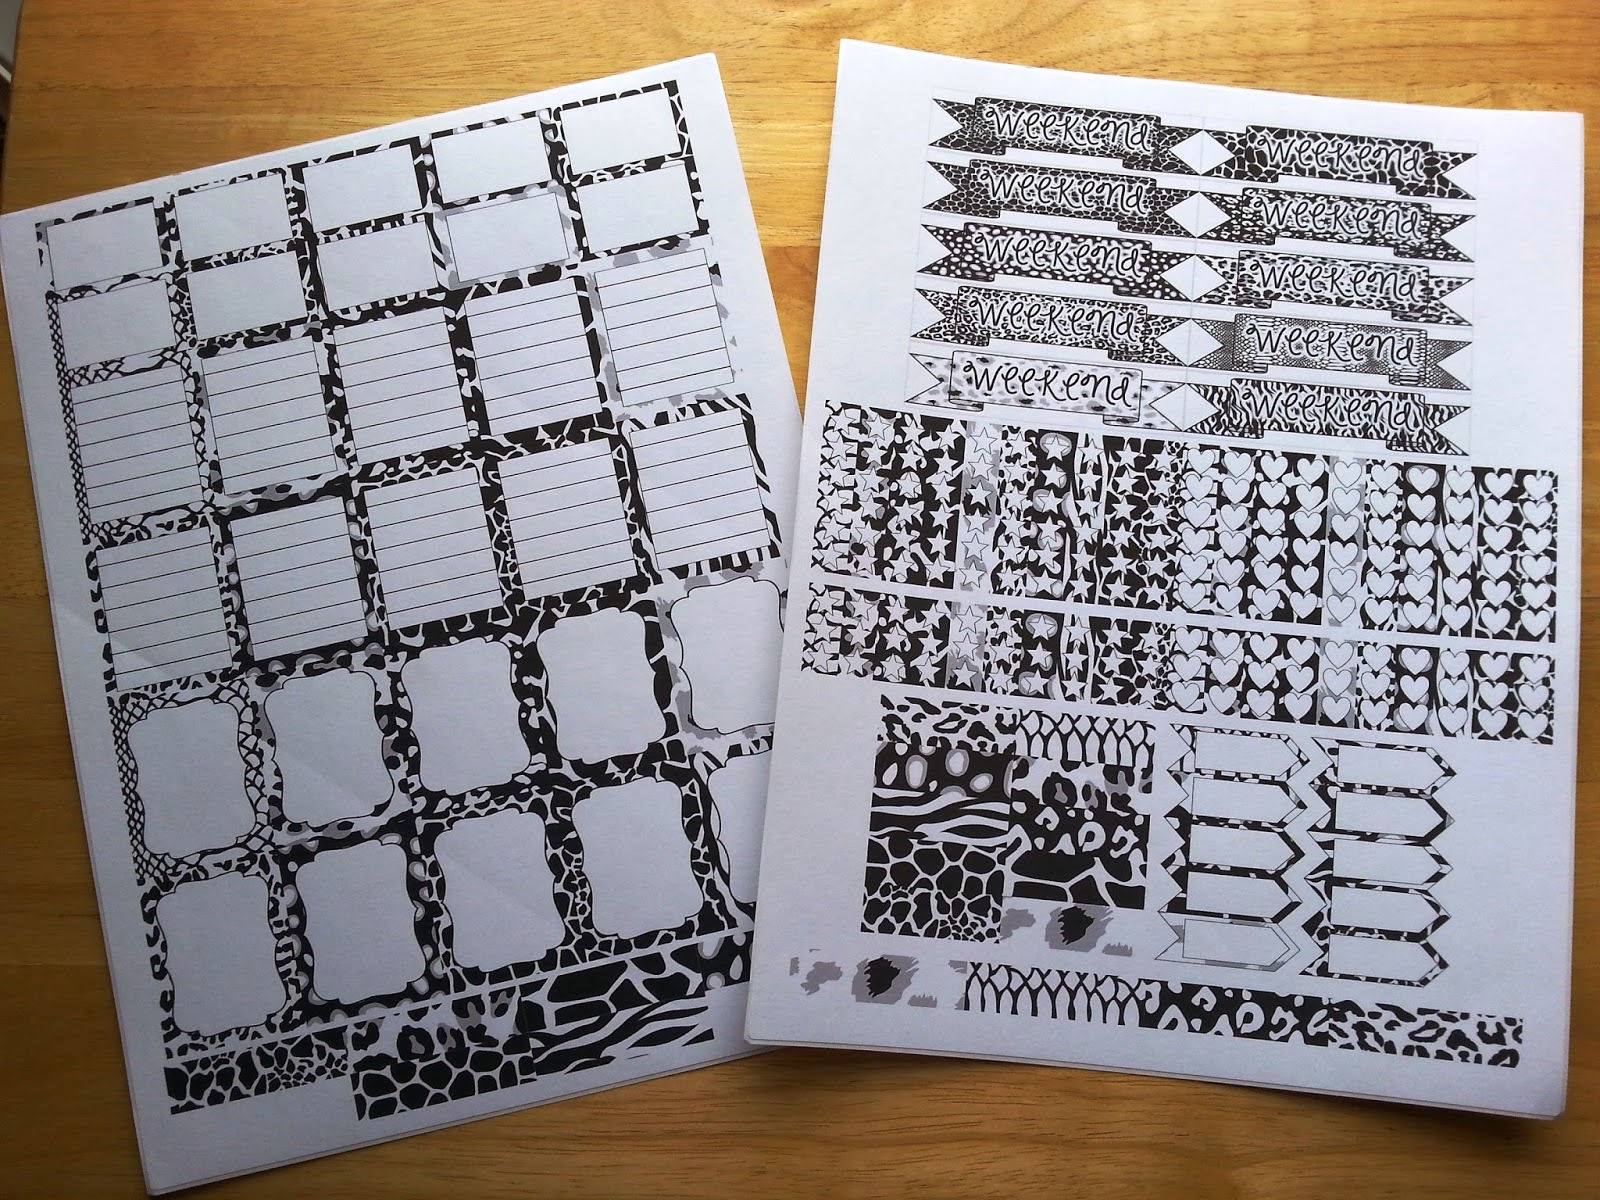
So for the 2016-2017 school year I will be in my Carpe Diem again Filofax Domino, with daily printouts. I made a few updates, such as adding note pages and student info pages. I also added some color to the pages. I am excited about lesson planning!
 |
| These planner pages are available as a digital download in my TpT store |
So now I have a completely pretty and functional planner! But I'm not done yet. I gave my crafty side a workout and came up with 3 ways to make my planner even prettier and more functional!

What you need: Page Protectors, Cutting Tool (I used a paper cutter), Washi Tape, and Hole Punching Tool (I got mine from Amazon).

The first thing you need to do is cut down your page protectors. I cut mine to be 6 inches wide and 8.75 inches tall. Make sure you cut off the side with the holes and the open top! Do not cut off the sealed bottom or the closed side. When you are done you have a page protector that looks like this!

Now it's time to Washi! I used the grid lines on my cutting board to make sure I got my washi down straight, with about a quarter of an inch of overhang. The overhang is so that the open side will seal. The beautiful thing about washi? If it doesn't go down straight... it easily pulls up so you can try again. I chose to use this more plastic-y (is that a word?) washi from scotch. I thought it matched better, and I thought it would hold up to the turning and tugging on the rings better.

Now you should have a plastic pocket sealed on 3 sides. Stick that bad boy in your hole punch, and get it in your planner! (I added a decorative strip of gold polka dot washi... just because I could!)


For these you need some paperclips and ribbon. I would also suggest some liquid glue and hot glue or super glue.
These are easy-peasy to make! Cut your ribbon to about 5-6 inches long. Fold them in half and insert them into the top end of the paperclip. Then pull the ends through the hole and tighten!

Then you trim the excess ribbon off, and voila. I would recommend that you put a little bit of glue on the ends to keep the fraying to a minimum. I would also recommend that you put a dot hot glue or super glue on the back so that the ribbons stay in place!
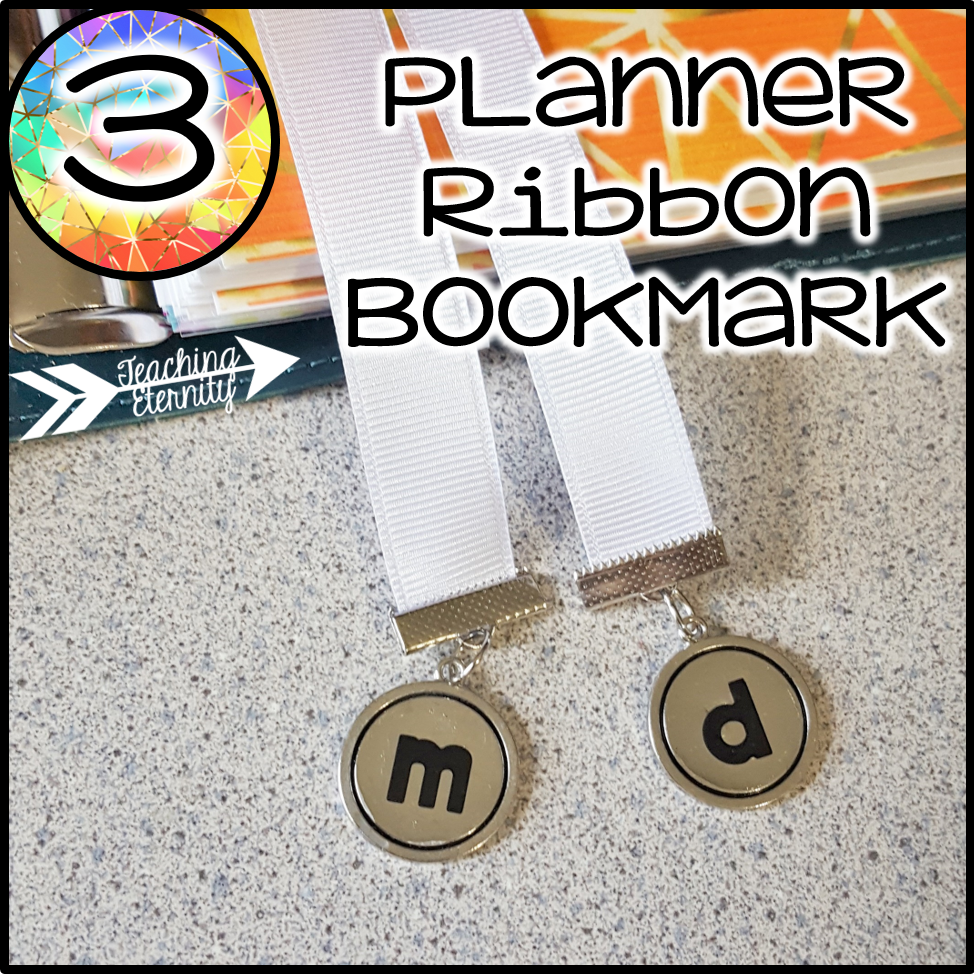
I wanted a way to easily mark where I was in my monthly and daily plans, so I created this ribbon book mark. For this project I needed ribbon, needle and thread, a vest buckle and ribbon ends (from Joann Fabrics - Jewelry section). I picked up these blank slate charms from Hobby Lobby (also in the jewelry section). You can use any bead or charm. I also had some stickers to label my charms. Not pictured is my super glue and scissors.

The first thing I did was put the 'm' and 'd' stickers on my charms. I put a light layer of super glue over it (I had it open from finishing my ribbon clips). I wanted to do these first so they would have a chance to dry while I did the rest.

Next I cut the ribbon roughly 4 times as long as my planner is high. I stacked the two ribbons one on top of the other and looped it around the center bar of the vest buckle. I stitched it closed with my needle and thread. I am not a sewing expert, so it's not pretty, but it's functional. I just went back and forth a few times to make sure it was secure. Then I threaded my two ribbons back around the the vest clip. Now you should have a loop on one side of the vest clip and two loose ribbons on the other.

Next I put the loop around the back of my planner and tightened it down. This took some finagling on my part, pulling on the bottom ribbon and then on the top, Once I had it tightened down the way I wanted I flipped it over and pulled the loose ribbons down in front of my cover. I trimmed the ribbons to be about 2 inches longer than my planner. This will make them hang out the end once it's closed.

Next I put the loop around the back of my planner and tightened it down. This took some finagling on my part, pulling on the bottom ribbon and then on the top, Once I had it tightened down the way I wanted I flipped it over and pulled the loose ribbons down in front of my cover. I trimmed the ribbons to be about 2 inches longer than my planner. This will make them hang out the end once it's closed.

I used my needle nose pliers to clamp on the ribbon ends. I found it helpful to close them a bit first before putting the ribbon in since it was hard to hold and clamp at the same time. I opened the link on the charm and slipped it onto the ribbon end and VOILA! Admittedly I had to take the charms off and put them on again because I'd put the monthly on the bottom ribbon and the daily on the top, but it was super easy to switch.

So now my planner is ready for a busy year. Join me for a FB live broadcast tomorrow where I'll show off my set-up from front-to-back.